
The best wireless temperature sensor for a walk-in cooler is not simply the model with the longest range or the smallest accuracy number. A reliable setup also needs a suitable probe, a tested signal path through or around metal walls, useful alerts, accessible records, and a compatible Hub.
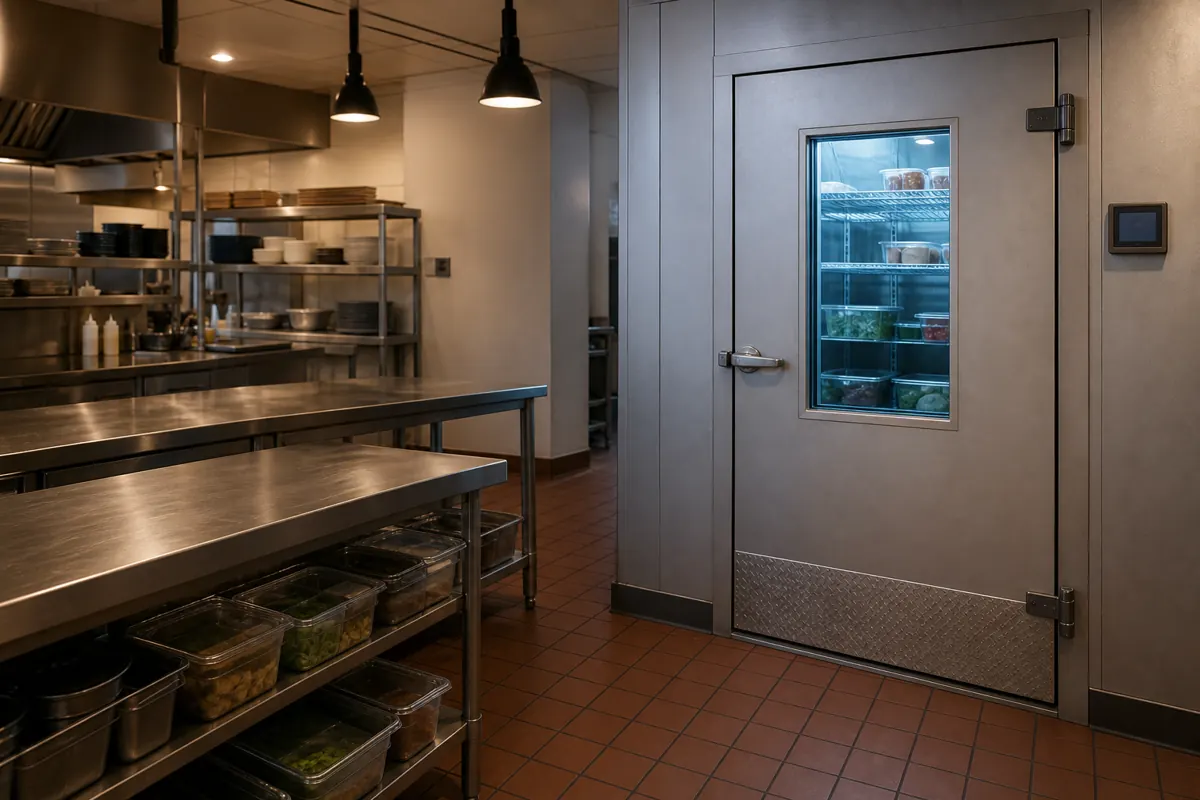
For many walk-in coolers, an external-probe sensor is the most practical starting point. The probe stays inside the cooler while the sensor body remains outside the metal enclosure, where it has a better chance of maintaining a wireless connection. Choose the sensor and Hub as one system, then test the installation under real operating conditions before relying on alerts.
Why Walk-In Cooler Monitoring Needs More Than a Thermometer
A wall display or refrigeration control panel shows the temperature only when someone is standing nearby. A scheduled manual check creates a record at that moment, but it does not show what happened between checks, overnight, or during a weekend closure.
Wireless monitoring helps close those visibility gaps. It can record temperature trends and notify the right person when a reading remains outside a chosen range. It should support, not replace, the food business’s inspection, corrective-action, equipment-maintenance, and recordkeeping procedures.
This distinction matters. A sensor can help staff discover a refrigeration problem sooner, but it does not guarantee food safety, prevent every inventory loss, or make an operation compliant by itself.
What Food Businesses Reported Before and After Monitoring
Customer feedback collected by MOCREO shows several recurring operational patterns. The examples below describe individual customer experiences; they are not promises of universal results.
1. From twice-daily paper checks to multi-unit visibility
One food-retail technology provider said its customers commonly operated 10 to 20 refrigerators or freezers at each site, including deli counters, dairy refrigerators, ice-cream freezers, and large walk-in cold rooms. Historically, staff checked units with a probe at least twice daily and recorded the results on paper.
The provider reported that automated monitoring saved its customers at least one hour per day and gave them greater protection against overnight equipment failures. It also identified remaining workflow needs, including calibration documentation, corrective-action recording, scheduled alerts, and a weekly manual verification area.
2. From hourly control-panel readings to exception alerts
A restaurant-supply customer described manually recording readings from refrigeration control panels approximately every hour. After adopting a monitoring device, the customer said the process became more streamlined and that alerts helped staff respond to malfunctions that could affect product quality.
3. From manual HACCP logs to 15 monitored points
A catering operation used sensors across refrigerators and freezers holding vegetables, meat, and other raw materials. Before installation, staff manually checked temperatures and created paper logs. The customer valued continuous monitoring, automatic alarms, and stored temperature history.
The same customer also described practical limitations: managing schedules across 15 sensors took time, loading and unloading could create temporary temperature rises, and exporting data sensor by sensor was inefficient. These details are useful because they show why buyers should evaluate daily workflow, not only hardware specifications.
Seven Features to Compare
Use these seven checks to narrow the options before comparing individual models.
For metal coolers, an external probe can stay inside while the wireless body remains outside. Avoid direct evaporator airflow and the immediate door area.
Confirm the stated measuring range covers the application. Good placement matters as much as the published accuracy figure.
Line-of-sight range is not a site guarantee. Test with the cooler door closed and the Hub in its final position.
Send alerts to a named responder. Use delay settings to filter normal door openings without hiding genuine faults.
Check local alarms, temporary storage, Hub-offline notices, and which remote functions require internet access.
Trend data supports reviews and maintenance analysis, but an export alone is not a complete compliance program.
Choose the Sensor and Hub as one system, then consider replacement availability and future expansion.
Match the Sensor Design to the Workflow
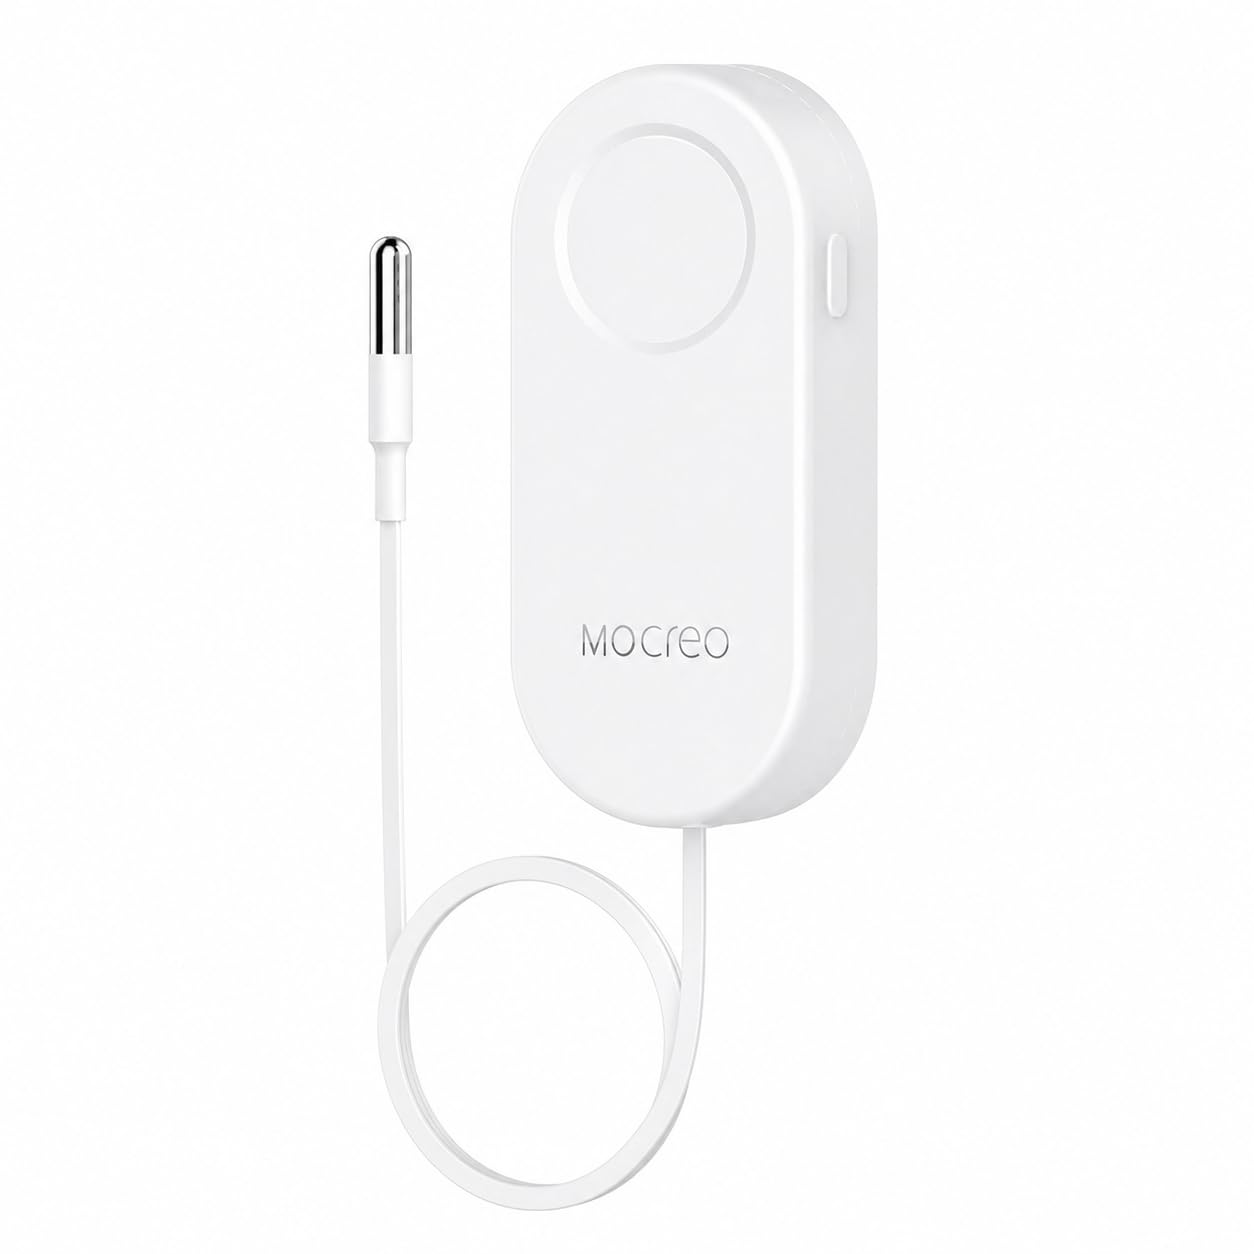
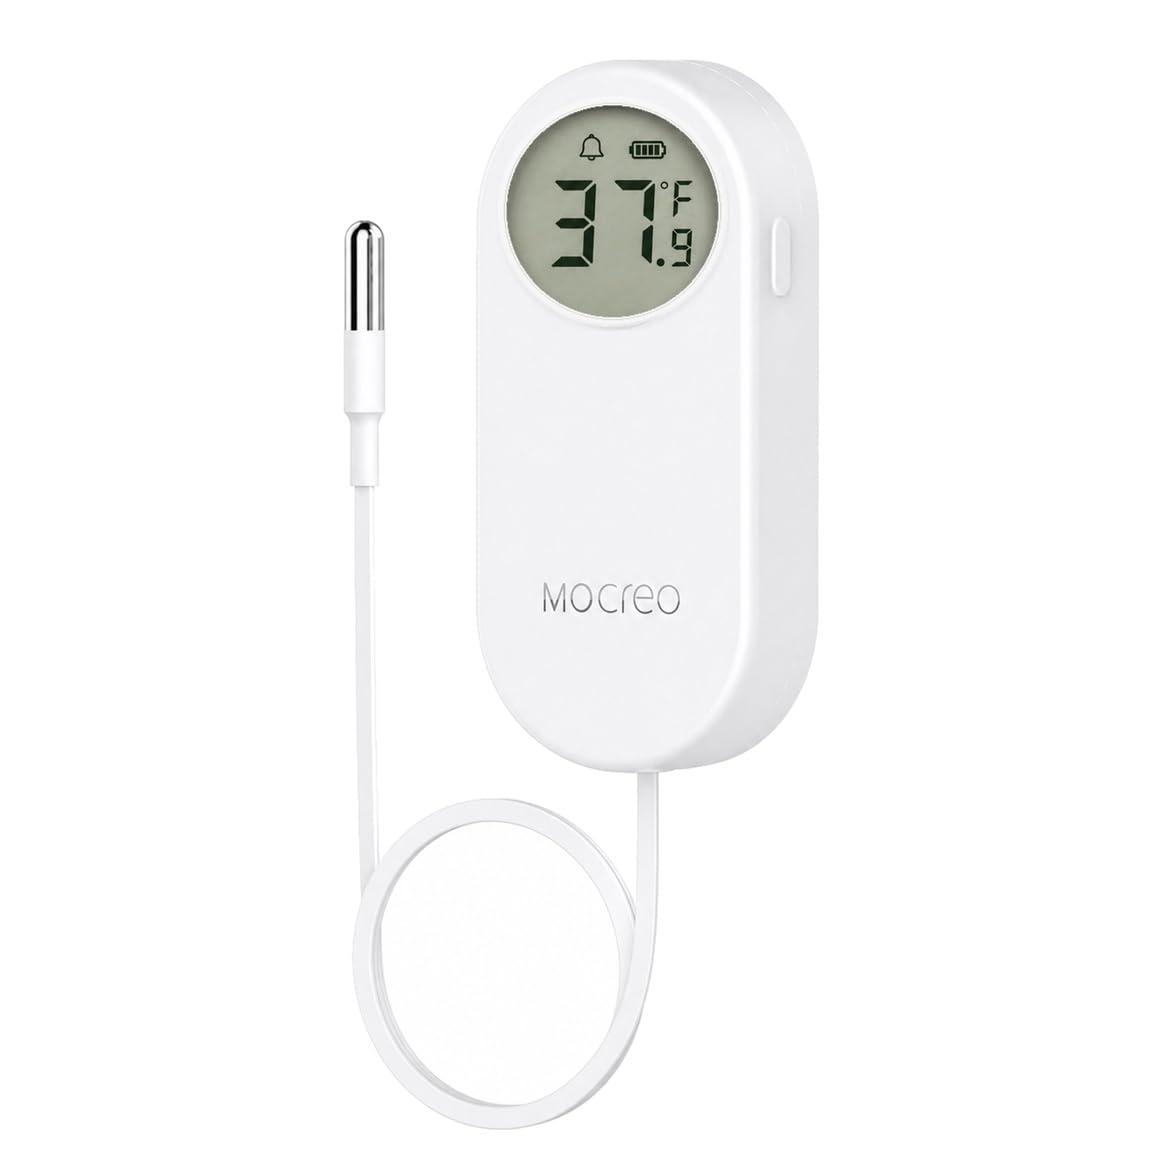
There is no single best design for every walk-in cooler. Match the hardware to the installation need, then confirm the required Hub before purchase.
Frequently Asked Questions
Where should a temperature sensor be placed in a walk-in cooler?
Should the sensor stay inside or outside the cooler?
Can wireless monitoring replace manual checks?
How do I reduce false alerts?
What happens if the network goes down?
Final Takeaway
The right walk-in cooler monitoring setup should match the cooler, the building, and the team responsible for responding. Start with probe placement and the real wireless signal path, then compare alert behavior, offline handling, data access, and Hub compatibility.
Before permanent installation, test the complete workflow with the cooler door closed and confirm that an alert reaches someone who knows what action to take.
Choose a setup that fits your cooler
Start with the installation need, then confirm Sensor–Hub compatibility and current availability.
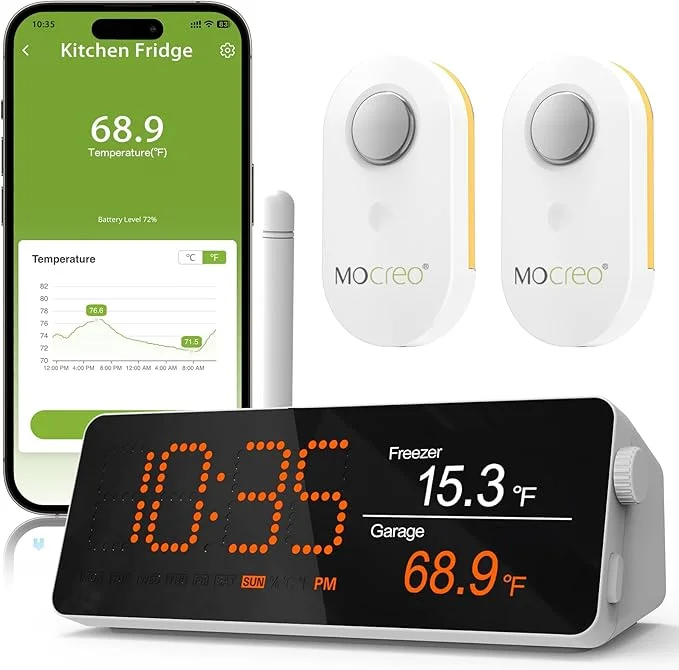
Confirm the latest product status and Hub compatibility before purchase.
Product specifications and compatibility referenced from MOCREO documentation. Verify the latest product status before purchase. Customer outcomes are individual reports and may not represent results for every operation.